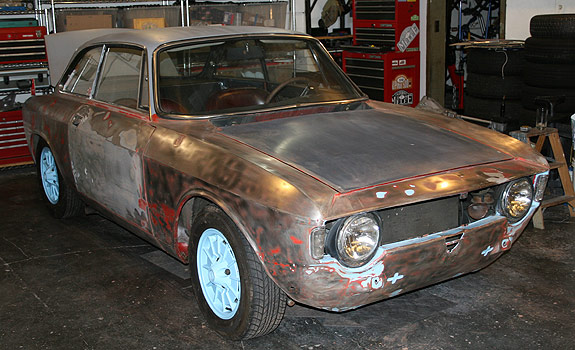
GTV Body Part 4 - Forging ahead: Sides, Front, Hood.
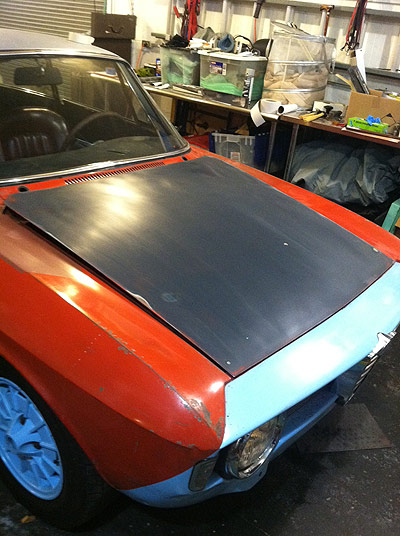
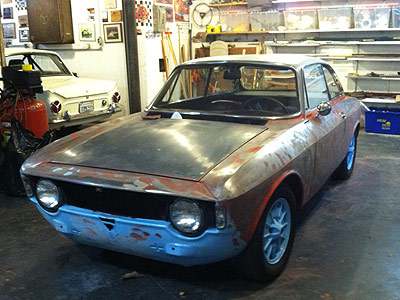
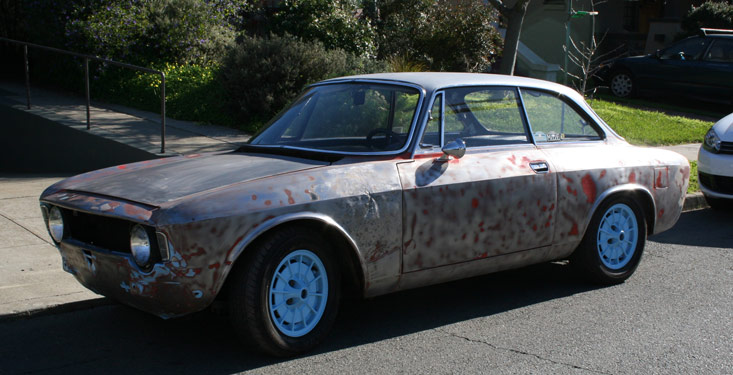
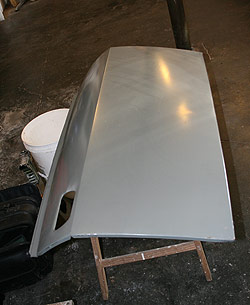
I removed the red paint on the hood with a razor blade, then sanded it to reveal the original grey. It's the only outer panel on the car to retain the original paint.
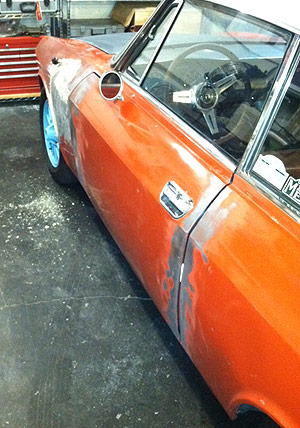
Door Gaps: The left door wasn't too bad. The right side was painted with a brush, and paint removal revealed what looked like fiberglass and bondo covering the majority of the flat surface. I was able to align the lower rear door gap, but at the top the curve near the door handle was significantly lower than the body. This was adjusted with some aggressive hammering.
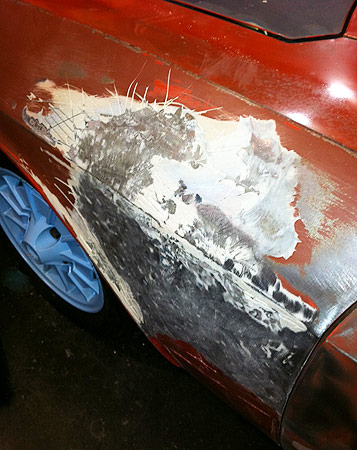
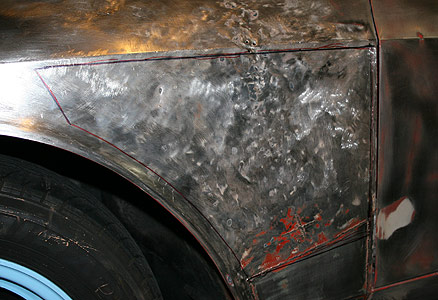
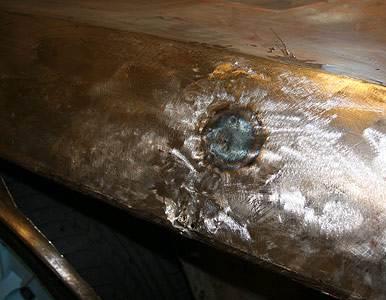
Digging into the bodo-mess in front of the driver's door revealed a fairly big hit and oil-canned metal.


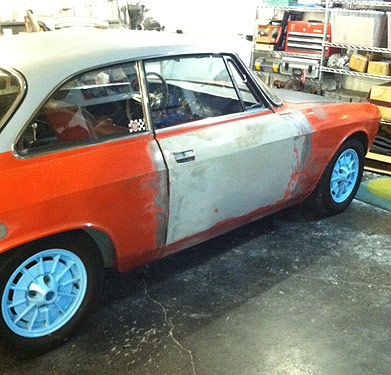
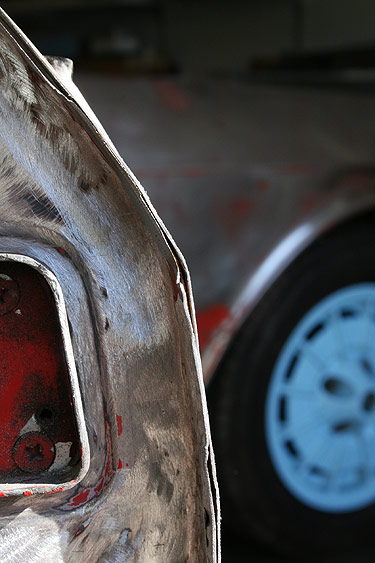
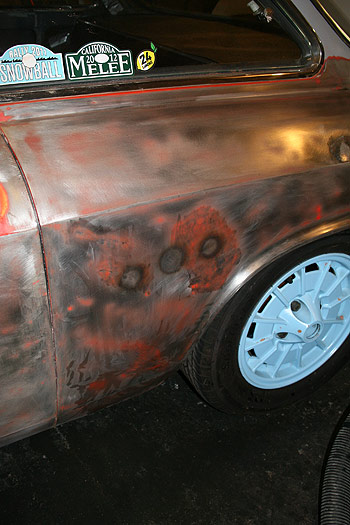
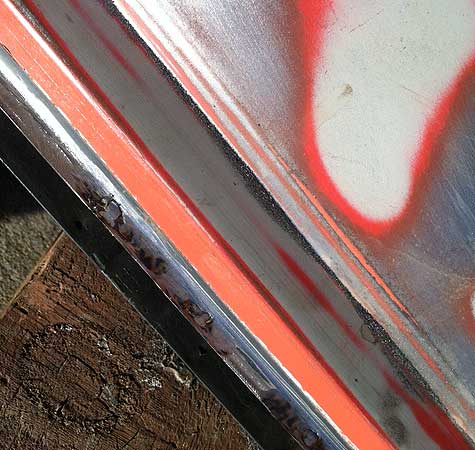
First pass at the sides show low spots and dents in red.
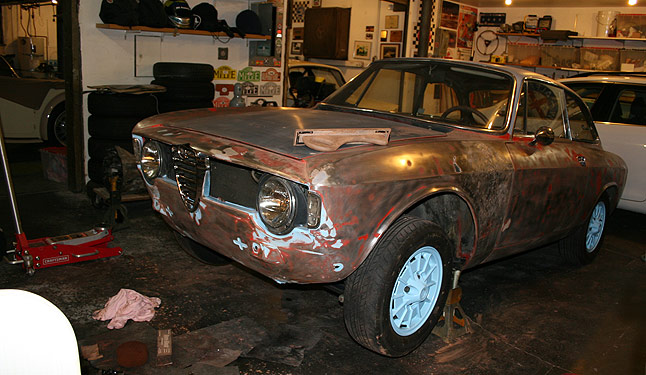
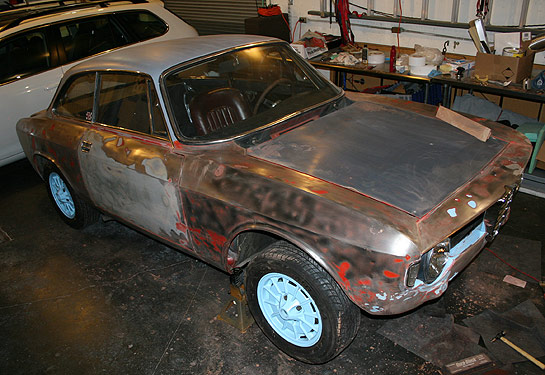
Less red after working some of the panels - still plenty to go.
Still lots of low spots on the drivers side.
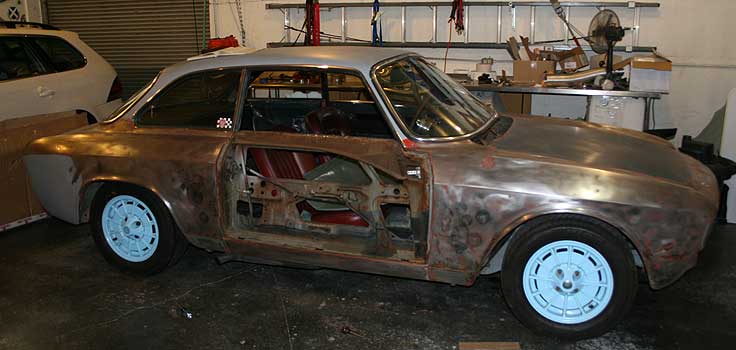
Threw the lights back in it to drive it around and keep it running.
After talking with Conrad, the decision to cut out the worst of the damaged sheetmetal was made.
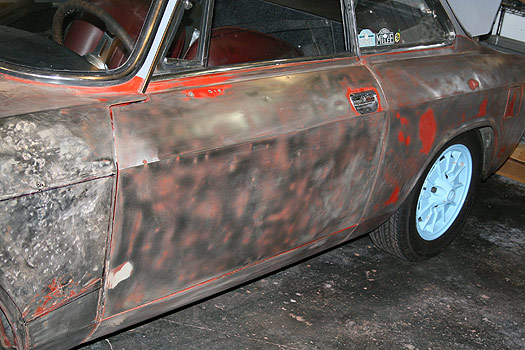
Drivers door with most of the low spots hammered out.
Right door skin is too far gone. Fiberglass is everywhere and deep, not to mention the back of the skin was braised on.
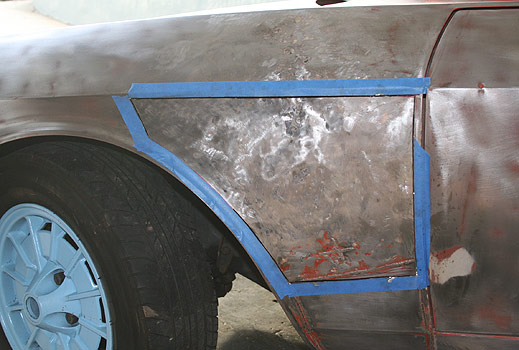
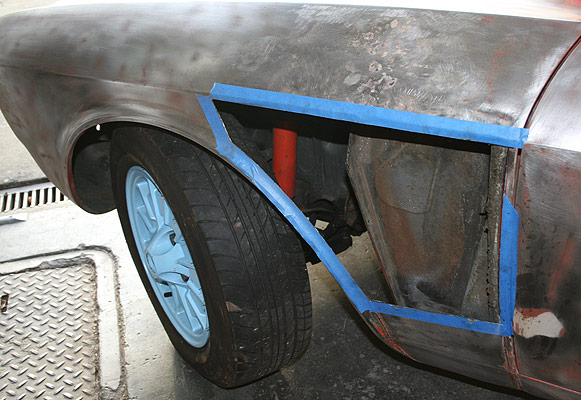
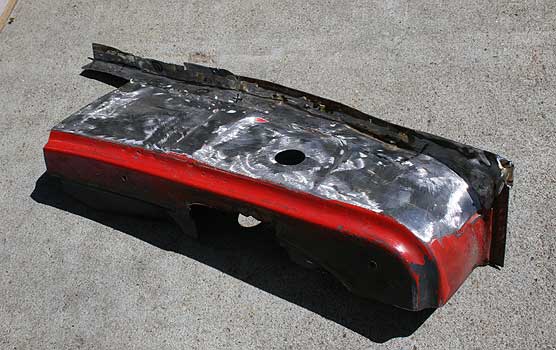
Cut the fender.
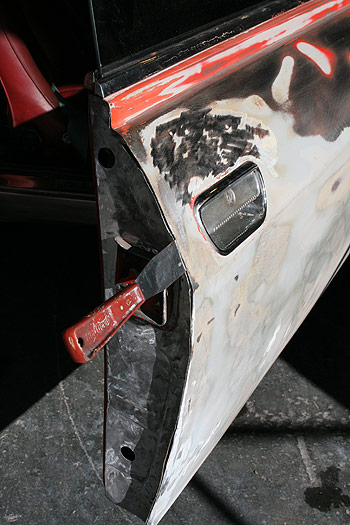
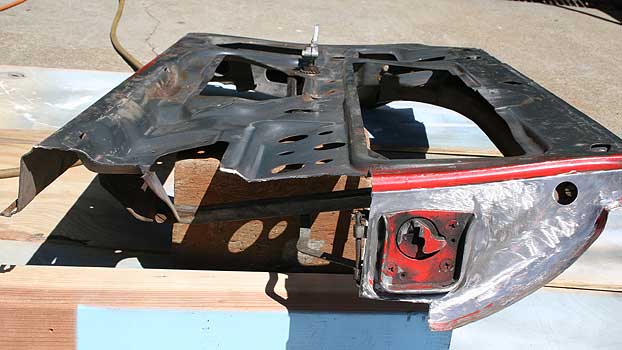
Ground the door skin at the rear to investigate the inner framework.
New door skin has arrived.
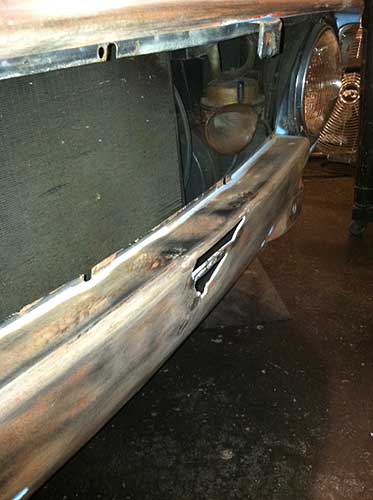
Practicing heat shrinking on the fender cutout.
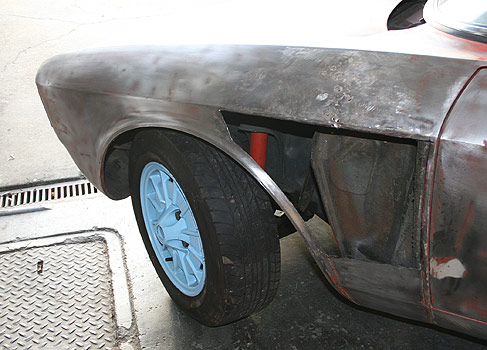
Heat shrinking the panels cured the oil-canning.
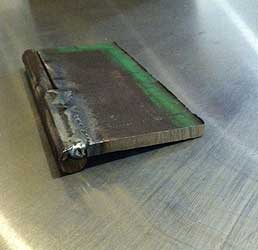
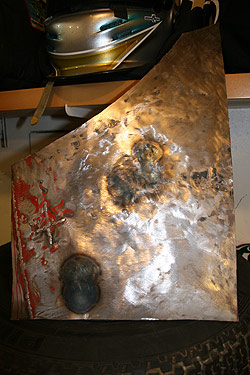
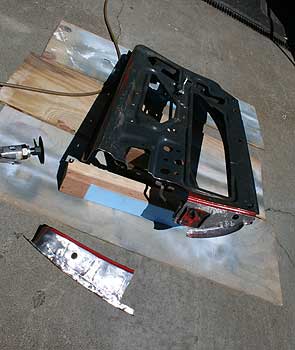
Conrad said, "You'll just make a dolly to fit the parts and then beat the snot out of it...." So with a piece of a garden stake and some flat plate....
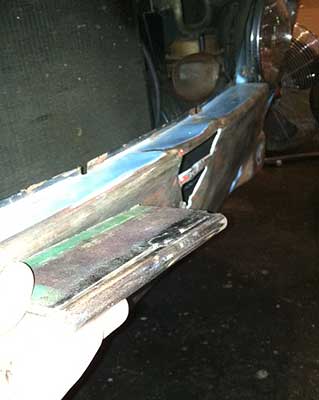
The jig for the underside of the front valence... note the lumps
now there are ghost marks from the lumps - but it's significantly flatter
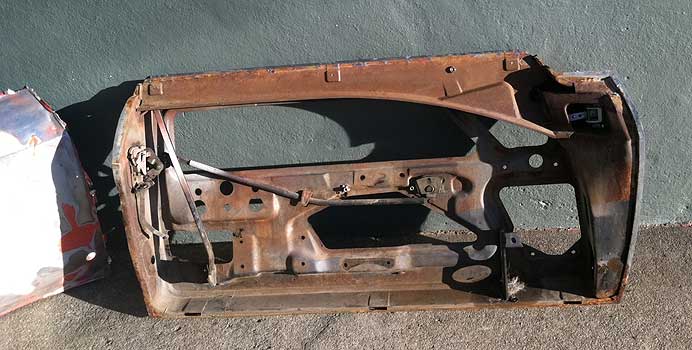
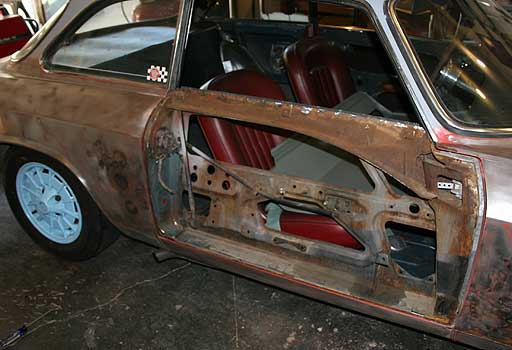
Removed the guts of the door - glass and handles - preparation for losing the bondo and fiberglass filled door skin
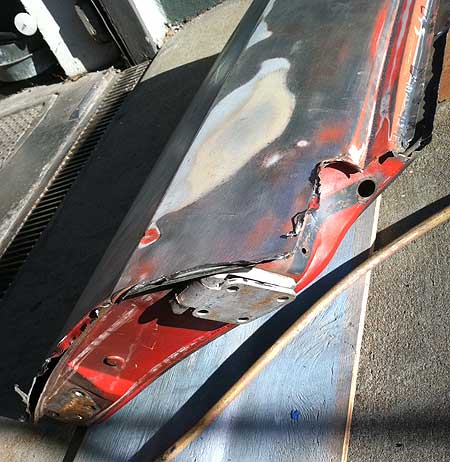
Unfolding the crimped sides - there are three or four hidden spot welds too (not counting the back that was braised on in the filler - laden door repair.
Finding and grinding the spot welds across the top of the door.
Seems easy... took longer than you'd think.


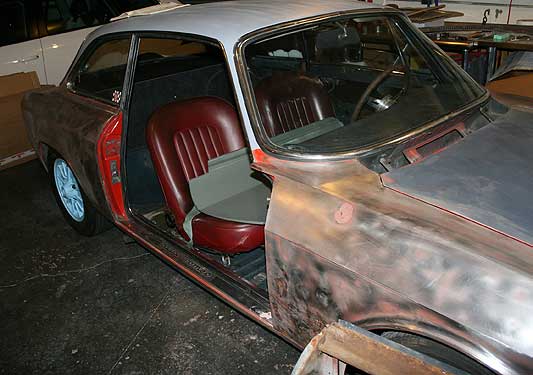
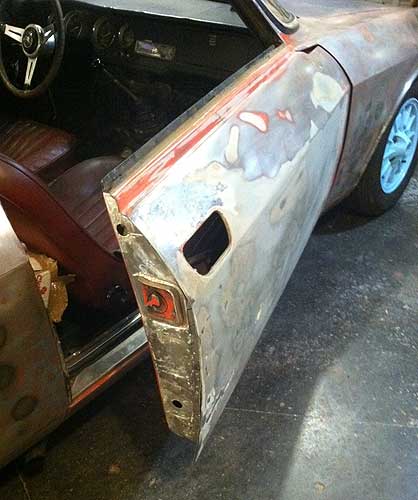
Donor door and the Mehari look with no door.
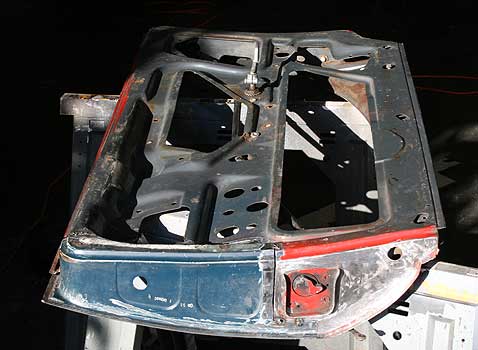
Mounted the unskinned door before cutting to check the fit one last time.
And then threw caution to the wind and went for it.....
Post cut. I also nicked a piece of my door lock mechanism that hangs down with the cutoff wheel and had to weld it to prevent future failure, I hope.
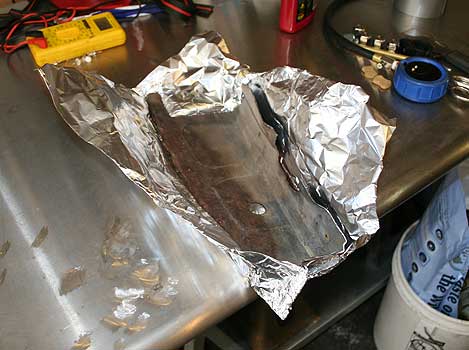
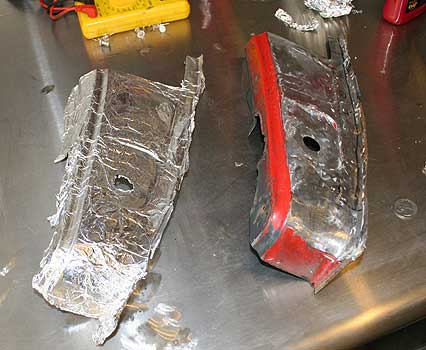
Wrapped the cut piece in tinfoil to make a template for cutting the donor piece.
It actually fit!

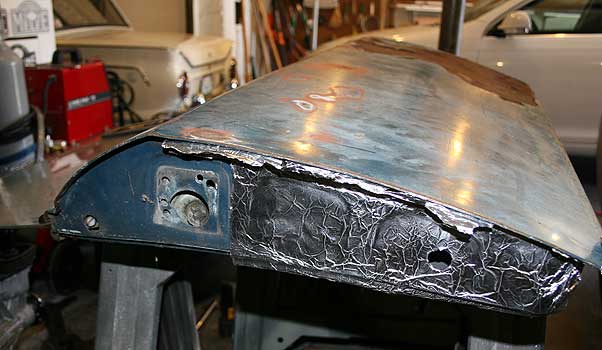
Cut, removed the folded skin from the donor piece, then mocked it up. I cut it slightly larger than the removed section. A number of hours were spent grinding and fiddling to get the new piece to fit.
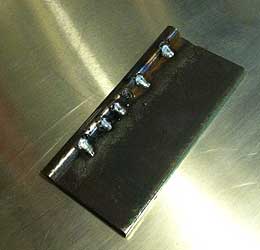
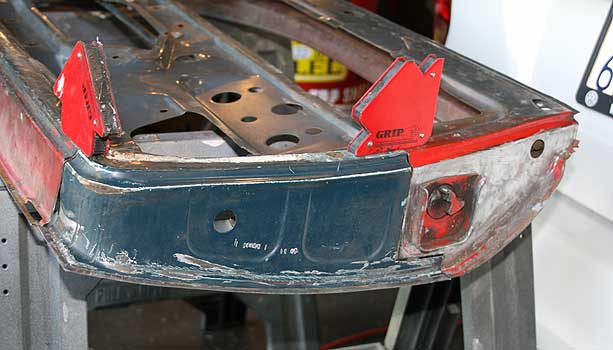
Tacked together
Test fit while tacked to make sure door would close
Part 1: Roof
Part 2: Trunk Lid
Part 3: Rear End